WSL2 Explained: What It Is and How to Enable It on Windows 11
WSL2 runs a real Linux kernel in a lightweight VM instead of translating system calls like WSL1 did. Here's what changed, what you need, and how to set it up.
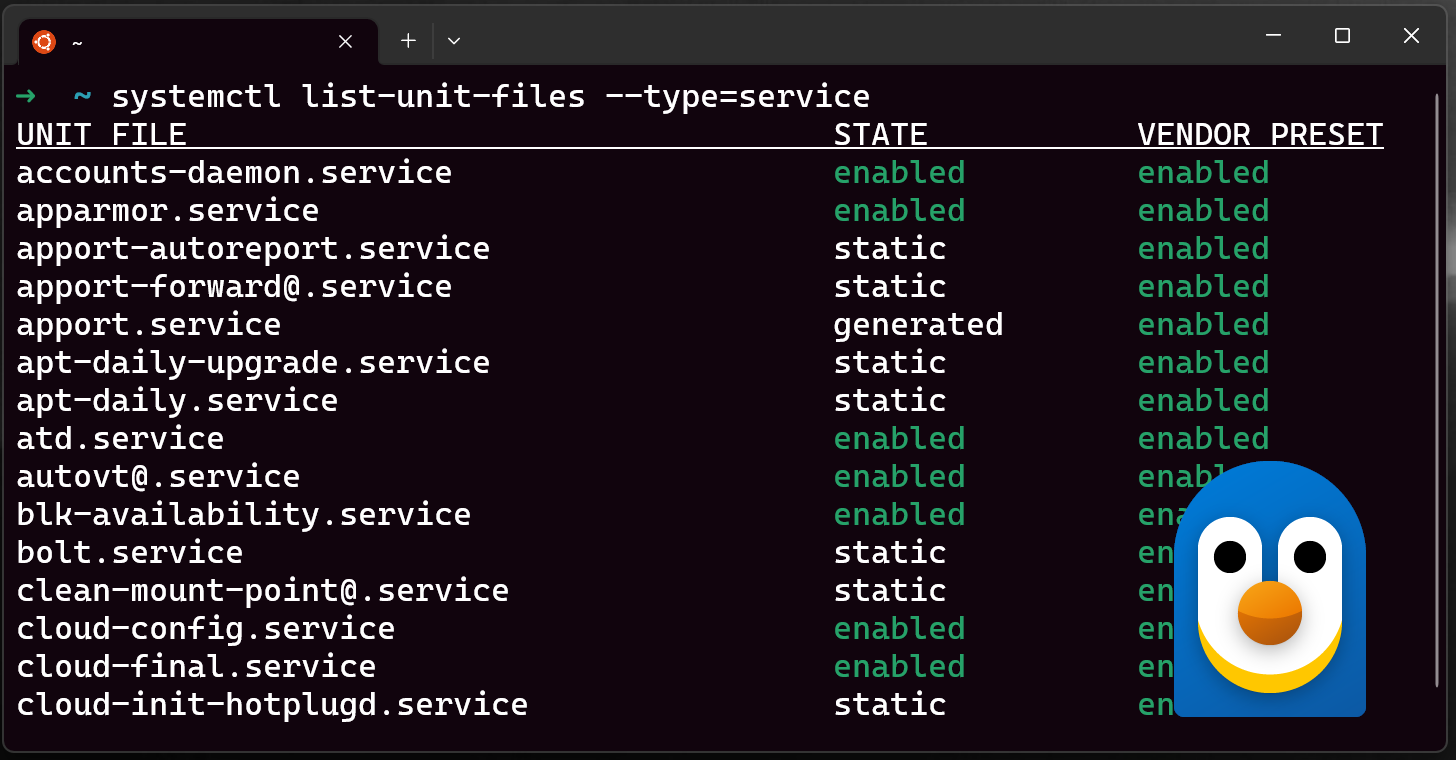
WSL2 (Windows Subsystem for Linux version 2) is Microsoft's current architecture for running Linux on Windows: instead of translating Linux system calls the way the original WSL did, it runs a real, Microsoft-built Linux kernel inside a lightweight, fast-booting virtual machine that's fully integrated into Windows. It is the default version you get today when you run wsl --install on Windows 11 or a modern build of Windows 10, and it's what makes tools like Docker, native file-system performance, and full Linux kernel compatibility possible on a Windows PC.
- What it is: A real Linux kernel running in a lightweight Microsoft-managed VM, integrated into Windows.
- Default since: WSL2 is the default distro type for every new Linux installation via
wsl --install. - Requires: Windows 11, or Windows 10 version 1903+ (Build 18362.1049+), with virtualization enabled.
- Check your version: Run
wsl -l -vin PowerShell or Command Prompt. - Biggest upgrade over WSL1: Full Linux system call compatibility, systemd support, and much faster file I/O inside the Linux file system.
What Is WSL2?
Windows Subsystem for Linux (WSL) is a Windows feature that lets you install and run a Linux distribution — Ubuntu, Debian, Kali, openSUSE, and others — directly on Windows, without a separate virtual machine app or a dual-boot setup. WSL2 is the second, current generation of that technology. According to Microsoft's own documentation, "WSL 2 uses virtualization technology to run a Linux kernel inside of a lightweight utility virtual machine (VM)," and Linux distributions running under WSL2 "share the same network namespace, device tree... CPU/Kernel/Memory/Swap, /init binary," while each still gets its own process, mount, user, and cgroup namespaces.
In practice, that means you get a genuine Linux kernel — not an emulation of one — managed quietly behind the scenes so the experience still feels like WSL1: fast boot times, a small resource footprint, and deep integration between your Windows desktop and your Linux command line. You can launch it from Windows Terminal, from the Start menu, or by typing wsl at a PowerShell prompt, and it behaves like a native part of Windows rather than a separate machine you have to manage.
The Linux kernel WSL2 ships is built by Microsoft from the latest stable branch on kernel.org, specifically tuned for WSL2, and serviced through Windows Update and the Microsoft Store — so you get kernel security fixes and improvements automatically, the same way the rest of Windows updates itself.
WSL1 vs WSL2: What Actually Changed
WSL1 worked by translating Linux system calls into Windows system calls in real time — effectively a compatibility layer built by the WSL team. It was clever and lightweight, but it could never support every Linux system call, which meant some software (notably Docker, which needs direct access to the Linux kernel) simply would not run.
WSL2 replaces that translation layer with an actual Linux kernel. Microsoft's comparison guide summarizes the trade-offs this way:
| Feature | WSL1 | WSL2 |
|---|---|---|
| Integration between Windows and Linux | Yes | Yes |
| Fast boot times | Yes | Yes |
| Small resource footprint vs. a traditional VM | Yes | Yes |
| Runs alongside current VMware / VirtualBox | Yes | No* |
| Managed virtual machine | No | Yes |
| Full Linux kernel | No | Yes |
| Full Linux system call compatibility | No | Yes |
| Fastest file access on the Windows file system | Yes | No |
| systemd support | No | Yes |
| IPv6 support | Yes | Yes |
*WSL2 is compatible with recent versions of VMware (15.5.5+) and, with caveats, VirtualBox 6+, since both now support running alongside Hyper-V.
The practical upshot: file-intensive operations such as git clone, npm install, apt update, and apt upgrade are noticeably faster under WSL2 when your project files live inside the Linux file system — Microsoft cites early WSL2 builds as up to 20x faster than WSL1 for unpacking a tarball, and roughly 2-5x faster for common tasks like git clone, npm install, and cmake. The one place WSL1 still wins is accessing files that live on the Windows drive (for example, something under /mnt/c/) from inside Linux — cross-filesystem access is faster in WSL1, because WSL2 has to go through its VM boundary and a 9P network protocol to reach the Windows file system.
Full system call compatibility is also what unlocked an entire category of Linux software that previously couldn't run on Windows at all, most notably Docker and other container runtimes, along with systemd-dependent services and tools.
System Requirements for WSL2
WSL2 needs a specific combination of Windows version and hardware support. Microsoft's current requirements are:
| Requirement | Minimum |
|---|---|
| Windows 11 | Any supported build |
| Windows 10 (x64) | Version 1903 or later, Build 18362.1049 or later |
| Windows 10 (ARM64) | Version 2004 or later, Build 19041 or later |
| CPU | Must support Second Level Address Translation (SLAT) — Intel "Nehalem" / Core 1st-gen or AMD Opteron and newer |
| Virtualization | Enabled in the system BIOS/UEFI |
| Windows features | "Virtual Machine Platform" optional component enabled |
Windows builds earlier than 18362 can't run WSL2 at all — on those, only WSL1 is available, or none. You can check your exact build by pressing Windows key + R, typing winver, and selecting OK.
How to Check Whether You Have WSL or WSL2
If WSL is already installed and you're not sure which version you're running, open PowerShell or Command Prompt and run:
wsl -l -v(Equivalent to wsl --list --verbose.) This lists every installed Linux distribution, whether it's currently running or stopped, and a VERSION column showing 1 or 2 for each one — you can run different distributions on different WSL versions side by side, and upgrade or downgrade any individual distro at any time.
For a broader snapshot of your overall WSL setup — default distribution type, default distribution name, and kernel version — run:
wsl --statusAnd to see the version numbers of the WSL components themselves (not your distros), run:
wsl --versionIf none of these commands are recognized at all, WSL isn't installed yet — skip to the install steps below.
How to Install or Enable WSL2 on Windows 11
On Windows 11 (and any Windows 10 build 19041 or later), installing WSL2 is a single command:
- Open the Start menu, type PowerShell, right-click it, and choose Run as administrator.
- Run:
wsl --install - Restart your PC when prompted. This command enables the required Windows features (Windows Subsystem for Linux and Virtual Machine Platform) and installs Ubuntu as the default distribution, already set to WSL2.
- After restarting, the Ubuntu console will open automatically and finish setting itself up. Enter a Unix username and password to complete the first run — this account is separate from your Windows login.
To install a different distribution instead of Ubuntu, first see what's available, then install it by name:
wsl --list --online
wsl --install -d <DistroName>
If wsl --install instead prints the WSL help text, that means WSL is already installed — run wsl --list --online and wsl --install -d <DistroName> to add a specific distribution, or follow the version-check steps above to confirm what you already have. If installation hangs at 0% progress, add --web-download to force a direct download instead of using the Microsoft Store: wsl --install --web-download -d <DistroName>.
Once it's running, pairing it with a current build of Windows 11 and Windows Terminal gives you tabs, panes, and profile customization across PowerShell, Command Prompt, and every installed Linux distribution in one window.
How to Install WSL2 on Windows 10
If you're on Windows 10 version 1903 or later with Build 18362.1049 or higher, the same single command works:
wsl --installRun it from an administrator PowerShell window, restart when asked, then finish setting up your Linux username and password as above.
If your Windows 10 build is older than 18362, wsl --install won't work, and you'll need the manual steps instead:
- Enable the WSL optional component (admin PowerShell):
dism.exe /online /enable-feature /featurename:Microsoft-Windows-Subsystem-Linux /all /norestart - Enable the Virtual Machine Platform feature that WSL2 depends on:
dism.exe /online /enable-feature /featurename:VirtualMachinePlatform /all /norestart - Restart your PC.
- Download and run the WSL2 Linux kernel update package for your CPU architecture (x64 or ARM64) from Microsoft's official download links on the install-manual page, since older builds don't fetch this automatically.
- Set WSL2 as the default version for new installs:
wsl --set-default-version 2 - Install a distribution from the Microsoft Store (search "Linux" or go straight to the Ubuntu listing) and launch it to finish setup.
Either way, confirm it worked afterward with wsl -l -v — you should see your distro's state as Running or Stopped and its version listed as 2.
Upgrading an Existing Distro from WSL1 to WSL2
If a distribution is already installed and currently set to WSL1 — which can happen on older installs, or if you deliberately chose WSL1 for a project — you can convert it in place without reinstalling anything:
wsl --set-version <DistroName> 2For example, wsl --set-version Ubuntu 2 converts your Ubuntu install to the WSL2 architecture. This can take a few minutes depending on how much data is in the distro, and Microsoft recommends backing up large projects first, since the conversion between architectures can occasionally fail partway through on very large or heavily customized installs. To make every future new distribution install as WSL2 automatically (which is already the default on current WSL versions), run wsl --set-default-version 2 once.
What People Actually Use WSL2 For
WSL2's full kernel compatibility turned it from a novelty into a genuine daily development environment. Common uses include:
- Running Docker and other containers. Docker Desktop uses the WSL2 backend by default on Windows, since containers need real kernel features WSL1 couldn't provide.
- Linux-native toolchains. Compilers, package managers (
apt,dnf,pacman), and build tools behave exactly as they would on a real Linux box, which matters for projects that eventually deploy to Linux servers anyway. - Editing with VS Code's Remote-WSL extension. You edit and debug files that physically live inside the Linux file system from a normal Windows desktop editor, keeping the file I/O speed benefits of WSL2 while still using a Windows GUI app.
- Running Linux GUI apps directly on the Windows desktop. WSLg extends WSL2 to support graphical Linux applications alongside native Windows windows, without a separate X server.
- GPU-accelerated workloads. WSL2 can pass through the host GPU for CUDA and machine-learning workloads running inside Linux.
- Local databases and services. MySQL, PostgreSQL, MongoDB, Apache, and SSH servers can all run inside the Linux environment for local development.
If you're setting up a dev machine from scratch, pairing WSL2 with a properly managed Python installation and an up-to-date editor covers most of what a typical full-stack or data workflow needs, and Visual Studio Code's remote tooling is specifically built to bridge the two sides cleanly.
Common WSL2 Setup Problems and Fixes
Most WSL2 install failures trace back to a small list of causes. Based on Microsoft's own troubleshooting guide:
- Error 0x80370102 ("the virtual machine could not be started because a required feature is not installed"). Virtualization is off. Enable virtualization in your system BIOS/UEFI (the exact menu varies by manufacturer), make sure the "Virtual Machine Platform" optional Windows feature is turned on, restart, and check that the hypervisor is set to launch by running
bcdedit /enum | findstr -i hypervisorlaunchtypein an elevated prompt — if it reports "Off," fix it withbcdedit /set hypervisorlaunchtype Auto. - Error 0x1bc when running
wsl --set-default-version 2. This means the WSL2 kernel component needs updating — install the Linux kernel update MSI package described in Microsoft's manual installation steps. - "WslRegisterDistribution failed with error 0x8007019e." The Windows Subsystem for Linux optional component itself isn't enabled yet. Turn it on via Control Panel → Programs and Features → Turn Windows features on or off, check "Windows Subsystem for Linux," and restart.
- Installation fails with 0x80070003. WSL distributions must be stored on your system drive (usually C:). Check Settings → System → Storage → Advanced storage settings → Where new content is saved and point new apps to your system drive.
- No network connectivity inside WSL2, especially on a work laptop or after connecting to a VPN. This is usually a firewall "rule merging" setting, an incompatible VPN client, or IPv6 being disabled at the registry level rather than through the network adapter — Microsoft's troubleshooting guide has specific workarounds for each case, including enabling the newer "mirrored" networking mode for better VPN compatibility.
- Kernel update required message after enabling features. If you see "WSL 2 requires an update to its kernel component," the kernel package is either missing or wasn't installed correctly — reinstall the kernel update MSI from Microsoft's download link and try again.
For anything not covered here, Microsoft and the WSL team track issues directly on the open-source WSL GitHub repository, which is also where the kernel source itself is published.
Bottom Line: What to Do Next
WSL2 is the right default for nearly everyone running Linux tools on Windows today — it's what you get automatically from wsl --install, and it's the only version that supports Docker, systemd, and full Linux system call compatibility. The only common reason to deliberately stay on WSL1 is heavy, performance-sensitive access to files that live on your Windows drive rather than inside Linux itself.
If you haven't set WSL up yet: open an administrator PowerShell window, run wsl --install, restart, and create your Linux username and password. If you already have it installed and aren't sure which version you're on, run wsl -l -v — if any distro shows "1" instead of "2," you can switch it over with wsl --set-version <name> 2 in a couple of minutes. From there, WSL2 is ready for Docker, your usual Linux command-line tools, and editors like VS Code's Remote-WSL extension, all running at near-native Linux speed on top of Windows.
Frequently asked questions
What is WSL2 in simple terms?
WSL2 is a Windows feature that runs a real Linux kernel inside a lightweight, Microsoft-managed virtual machine, letting you use Linux command-line tools, package managers, and software like Docker directly on Windows without a separate VM app or dual-boot setup.
What is the difference between WSL and WSL2?
WSL1 translated Linux system calls into Windows system calls in real time and never supported every call, so some software (like Docker) couldn't run. WSL2 instead runs an actual Linux kernel in a lightweight VM, giving full system call compatibility, systemd support, and faster file I/O inside the Linux file system, at the cost of slightly slower access to files stored on the Windows drive.
How do I know if I have WSL or WSL2?
Open PowerShell or Command Prompt and run wsl -l -v (or wsl --list --verbose). It lists every installed Linux distribution along with a VERSION column showing 1 or 2 for each one.
Do I have WSL or WSL2 by default on Windows 11?
On Windows 11, running wsl --install sets up WSL2 by default, since WSL2 is the default distro type for every new Linux installation via that command. You can confirm with wsl -l -v.
How do I install WSL2 on Windows 11?
Open PowerShell as administrator, run wsl --install, and restart your PC when prompted. This enables the required Windows features and installs Ubuntu set to WSL2 by default. To add a different distribution, run wsl --install -d <DistroName>.
How do I upgrade an existing distro from WSL1 to WSL2?
Run wsl --set-version <DistroName> 2 in PowerShell, for example wsl --set-version Ubuntu 2. This converts that distribution in place; Microsoft recommends backing up large projects first since the conversion can occasionally fail on very large or heavily customized installs.
Sources
- What is Windows Subsystem for Linux - Microsoft Learnlearn.microsoft.com
- Install WSL - Microsoft Learnlearn.microsoft.com
- Comparing WSL 1 and WSL 2 - Microsoft Learnlearn.microsoft.com
- Manual installation steps for older versions of WSL - Microsoft Learnlearn.microsoft.com
- Troubleshooting Windows Subsystem for Linux - Microsoft Learnlearn.microsoft.com
- Basic commands for WSL - Microsoft Learnlearn.microsoft.com
Felix Moreau writes Pandromeda's software coverage and how-to guides. He covers Windows, macOS and Linux updates, the apps people rely on, emulators and developer tools, and turns official documentation into clear, numbered steps that work on the current version.